We have approximately 1,150 square feet of carpet in our home. The house was relatively new when we moved in, and for only about a year or two of use, the previous owners sure did a number on it! It was in pretty bad shape, but the bank who sold us the home paid for the carpets to be professionally cleaned. Stanley Steamer redeemed our poor, abused carpets for about $225 on the seller's dime.
They did such a good job that about a year or two later, we invited them back and spent $225 of our own funds to have them clean up our cumulative light use since we had moved in. However, once we got our two Boston Terrier puppies, I knew I had to figure out a way to affordably clean the carpets more often...
The Machine

A friend lent me her Hoover Steamvac (a practically new yard sale find for about $30, I'm told), and I was in love. It was easy to use and did a great job cleaning up after two adults and two puppies (with lots of potty training accidents along the way). I knew I couldn't keep her Steamvac forever, so I started to do some research to make sure I wanted to invest in one myself. I ultimately settled on the machine pictured to the right. I bought it off
Amazon with free shipping for $154. Obviously if you keep your eyes out, the yard sale route is a good way to go. This is exactly the type of appliance I am sure a lot of people buy brand new with good intentions...then after a couple uses and it sitting around, cluttering up a closet for a a few months (or years), they finally come to terms with the fact that it could be better used in another home. And that better home could be your's! Either way you go, if all you ever do is clean your own carpets once, it will more than pay for itself. If it doesn't work out, you can always pass it along at your own yard sale in a couple of years...but if you're a frugal do-it-your-selfer like me, chances are it will be well worth its price tag and the closet space it occupies. If you're not ready to invest in a machine, another option is to rent a Rug Doctor from your local grocery store. The rest of the suggestions in this post can possibly be adapted to that machine, but I have geared it towards people using an at-home machine such as the Steamvac.
The "Shampoo"
If you purchase a Steamvac or other similar machine brand new, it will likely come with a small bottle of their special shampoo. The instruction manual will tell you that you must only use their special shampoo, or the machine might explode! So follow my suggestions at your own peril! ;)
The problem with the "special shampoo" is that, like any other commercially available cleaning solution...
1. It's rife with unpronounceable and most often toxic chemicals and fragrances. Not stuff you want your (or your small children's/pets') skin to come into contact with, not to mention the vapor you'll breathe in during the cleaning process and several days after as the fragrance wears off.
2. It's expensive! I believe they will sell you more of their special shampoo for somewhere between $5 and $10 a bottle...still cheaper than paying a professional, but not as cheap as it could be.
3. It will inevitably leave a residue, ultimately attracting more dirt, causing you to have to clean you carpets more often and purchase MORE of their special shampoo! I have also noticed that when using the special shampoos, it can sometimes leave your carpet crunchy/crispy if you do not rinse really really well.
My solution is...
Add a generous couple of cap-fulls (about 1 cup total, give or take) of distilled white vinegar to the shampoo compartment and dilute with piping hot water. I just fill the Steamvac cap a couple of times (more or less, depending on how soiled the area I am cleaning) and then fill with super hot tap water. The vinegar combined with the hot water serves to deodorize, disinfect, and loosen up dirt and stains. And in case you are not used to cleaning your house with vinegar, I promise it will not smell like pickles when you are done! I personally love pickles and have come to associate the smell of white vinegar with "clean," but even if you aren't there yet, trust me - the smell completely dissipates/evaporates, and all you are left with is a fluffy clean carpet that smells like nothing, which in my mind is the ultimate smell of clean.
One problem with the vinegar approach is that vinegar also serves to set colors, so if you have juice stains in your carpet, it may work against you...read more on Katie's experience with this at her post
here at Kitchen Stewardship. We don't have
small kids yet, so our stains tend to be dirt/pet related, and I've never had that problem...however, my solution to that would be to either clean with hot water only, OR treat your stains first, then follow up with the vinegar/hot water solution outlined above. Which leads me to my next point...
For Stains
There are all kinds of recipes online for homemade, natural carpet stain removal solutions. Depending on the stain, you may want to seek out a more sophisticated solution. What I find works well is to make a paste out of water and baking soda and scrub until the stain lifts out. Then, when you follow up with the Steamvac, you will be rinsing the stain and any baking soda completely up out of your carpet. If this doesn't cut it or you have a particularly stubborn stain, I would just try your luck with the different options on Google.


For pet stains, I have had a lot of success with Kids 'n Pets enzyme cleaner. The ingredients aren't too bad - just enzymes, isopropyl alcohol, surfactants, and natural citrus scent (not overpowering, and it dissipates when it dries). You want to completely saturate pet stains and allow them to evaporate fully with this stuff, that way the enzymes can get all the way down into the pad and eat up whatever it is that's causing an odor. If you have a particularly stinky room, you can also add some of this cleaner directly to your carpet cleaner solution. We bought a ton of this stuff when our dogs were puppies, and now that they are older and potty trained, I doubt we'll ever use it all up. If we got to that point, I might experiment with something more natural or even homemade. At the time, I was able to buy this stuff at Kmart and later off Amazon in a pinch and would feel okay recommending it based on my experience.
The Process
1. The first thing I always do is thoroughly vacuum the entire area to pick up any dirt/hair/dust/crumbs.
2. Treat any stains as outlined above.
3. Mix up your carpet cleaning solution as outlined above. Do this right before you go to clean so the water stays plenty hot.
4. Plug in and go! I usually hold down the trigger for one complete pass forward and back, then let off the trigger and do another complete pass forward and back. Do this in slightly overlapping strokes.
5. Dump the tank and refill the shampoo compartment as needed. If your rinse water is particularly dirty, consider going over the room a second time. For a second cleaning, I usually will just pull the trigger forward, and let off the trigger back, so you are only doing one complete pass instead of two. It just depends on how dirty the area you are cleaning is.
 |
| The evidence of a job well done! |
 |
| It feels great to get this stuff out of my carpet! |
6. Open up the windows, turn on the fans, run your air or heater depending on the season...do whatever you can to get the carpet dry as soon as possible.
7. Disassemble the shampoo compartment and dirty water tank, rinse, and allow to air dry. Then, you're done!
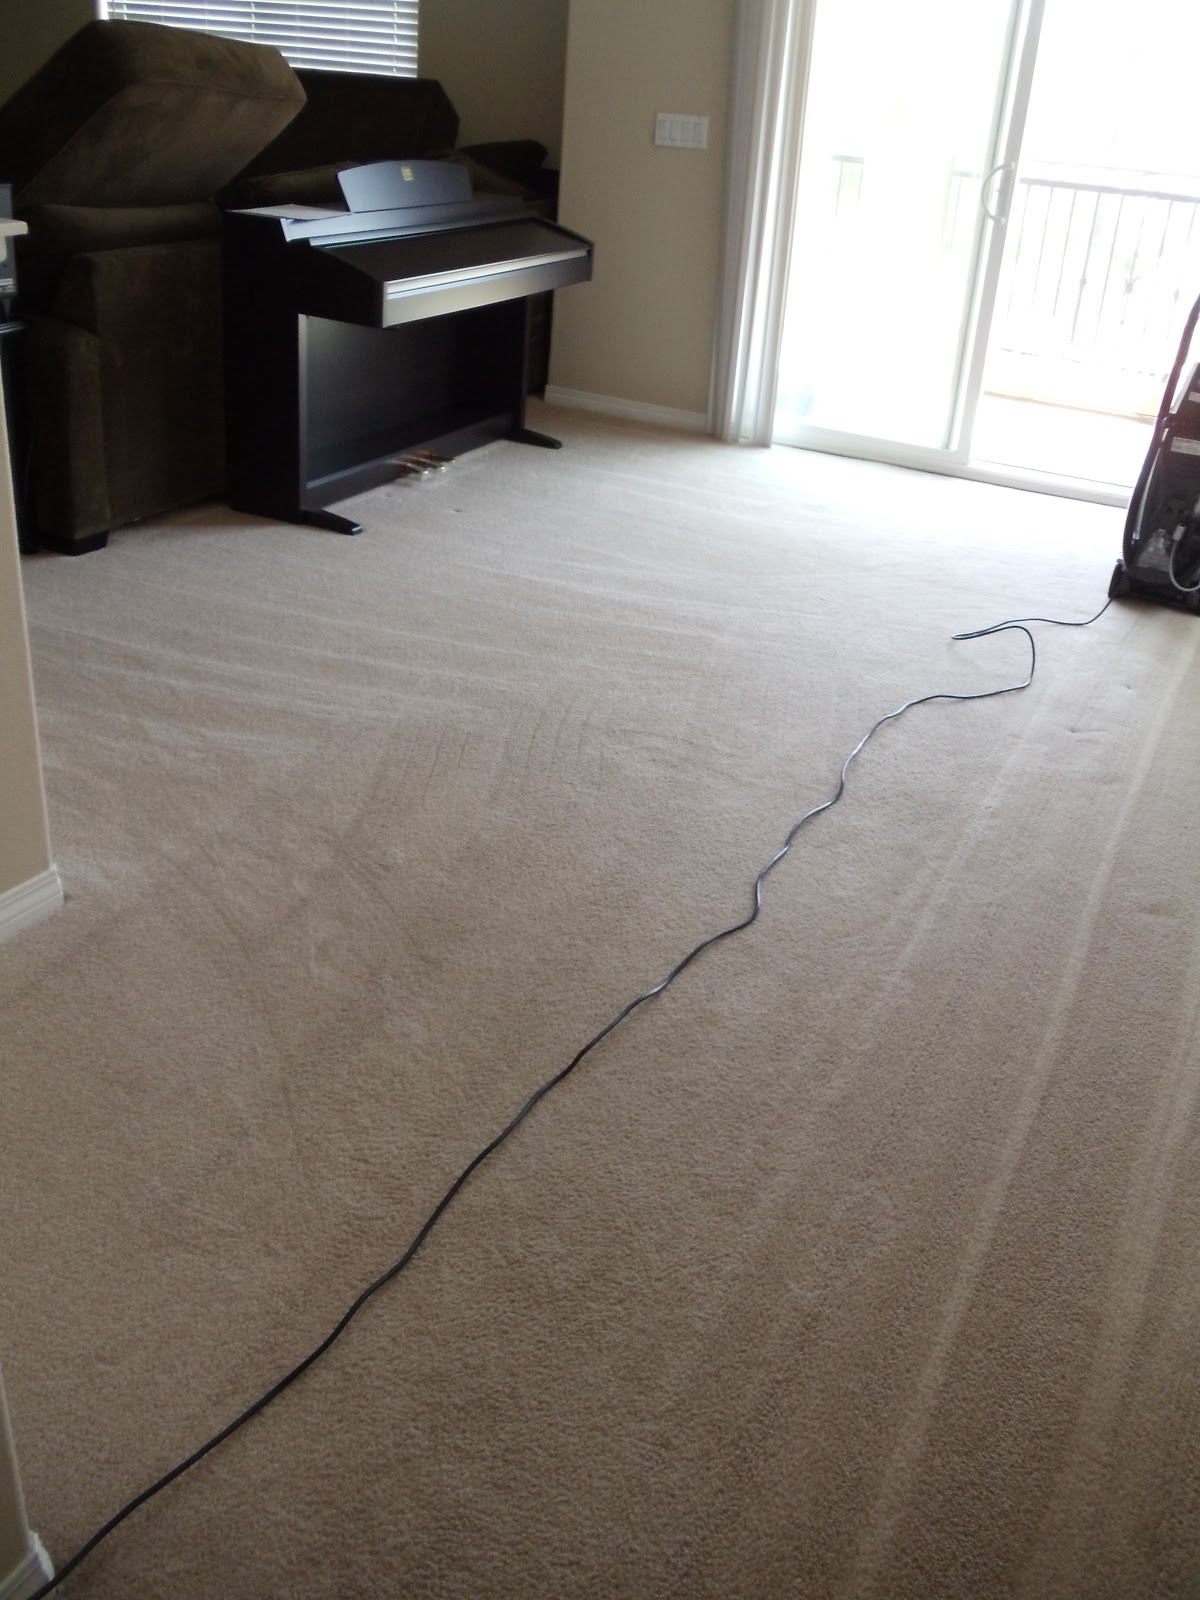
A couple during and after pics. I was in too much of a hurry to get any good before pics, but our carpet wasn't terribly dirty looking before anyway...but it sure does brighten everything up once it's truly clean!
 |
| The left half hasn't been cleaned yet - the right half has. |
 |
| View from the other side of the room. |
 |
| And after - beautiful! I love the streaks...even though they aren't completely straight... |
 |
| After |
 |
| After (no before pic for this part of the room). |
 |
| Hallway before. |
 |
| Hallway after. |
A Few More Tips and Precautions
1. The carpet in our house doesn't look too bad when it's all cleaned up, but it's not exactly brand new, and it's pretty "cheap" quality...all that to say that I have been pretty willing to take my chances and experiment. If you have a newer/fancier carpet, you may want to be extra cautious and try things in a closet or other inconspicuous area first. I know one danger when steam cleaning carpets is it can cause them to ripple in the middle once they are dry. I have not had this issue, but you may want to proceed with caution depending on the type of carpet you have.
2. It's a big job to try to clean the whole house at once like the professionals do. I have never successfully done this. The beauty of owning your own machine is you can do little sections as you have time and not spend any entire day turning your house upside down so the pros can come in and do their job. Also - I won't tell anyone if you leave your big furniture where it's at and focus your more frequent cleanings on the higher-traffic areas!
3. If you opt not to move your furniture, just be careful not to get the carpet wet near the edges of your furniture to avoid any dyes/stains from bleeding onto the carpet. You can slip plastic wrap or wax paper under the legs of furniture to create a barrier if you're worried about this. I usually just try to not to get too close, and it's not a problem.
4. Ideally you will clean your carpets on a warm, dry day where you can open up and really let things air out and dry quickly. Mildew is your worst enemy, so do what you must to keep air circulating and allow things to dry as soon as possible.
5. Next time Fido has an accident or your two-year-old spills her juice, grab your Steam vac right away. You can use it to suck up any liquid rather than blotting it further down into the carpet pad. Once you have sucked up all excess liquid, treat the stain and rinse with hot water and vinegar (unless you're worried about the stain setting as in the case of juice). It also comes in handy if you have a plumbing issue or some kind of leak that floods your carpet. Use it to your advantage!
6. Most of these carpet machines come with upholstery attachments. I don't have any sticky kids yet, and the dogs aren't allowed on the couch, so I have yet to try this out. But this is certainly a handy feature and is definitely something I will need if I ever get around to steam cleaning the carpet on our stairs down to the garage (they haven't really gotten so bad yet that I have wanted to invest the effort)...
So there you have it...that's just about everything I know about cleaning your carpets naturally and frugally. I'd love to hear your tips or suggestions in the comments!